Have you ever seen those cool collages in fashion magazines, and wondered how you can create them for yourself? With a little Mod Podge and patience, you can create a time capsule of memories.
When college started up last month, every time Hailey and I refreshed Instagram all we saw were dorm rooms, dorm rooms and more dorm rooms. Each one was customized to fit each person, some with monograms from floor to ceiling and others with pictures draping the walls. We normally aren’t big on monograms, but this certain one caught our eye. Three wooden letters, coated with this girl’s fond memories that will linger on, hanging above a bunk.
The materials are simple. The whole project is under $20 which includes three wooden or paper mache letters, priceless pictures, and one bottle of Mod Podge. What is Mod Podge you ask? Mod Podge is a glue adhesive that can be used for a variety of arts and crafts projects. The watery glue substance acts as seal, protecting your hard work from any dust or grime.
Being the die-hard crafters that we are, we decided to take this baby for a spin. We realized you don’t need much DIY experience, simply just a free schedule (it is a little time consuming). So grab a buddy, print off some of your most cherished memories, and you’ll be all set….Well not exactly all set. Here are the supplies and procedures you will need to create your very own monogram wall letters!
Materials:
3 wooden letters (letters personalized to fit the subject)
1 bottle of Mod Podge
A medium sized painting brush/sponge
Scissors
Pictures, Magazines, Newspapers, etc. (also depends on what you will be making)
An afternoon dedicated to crafting
Directions:
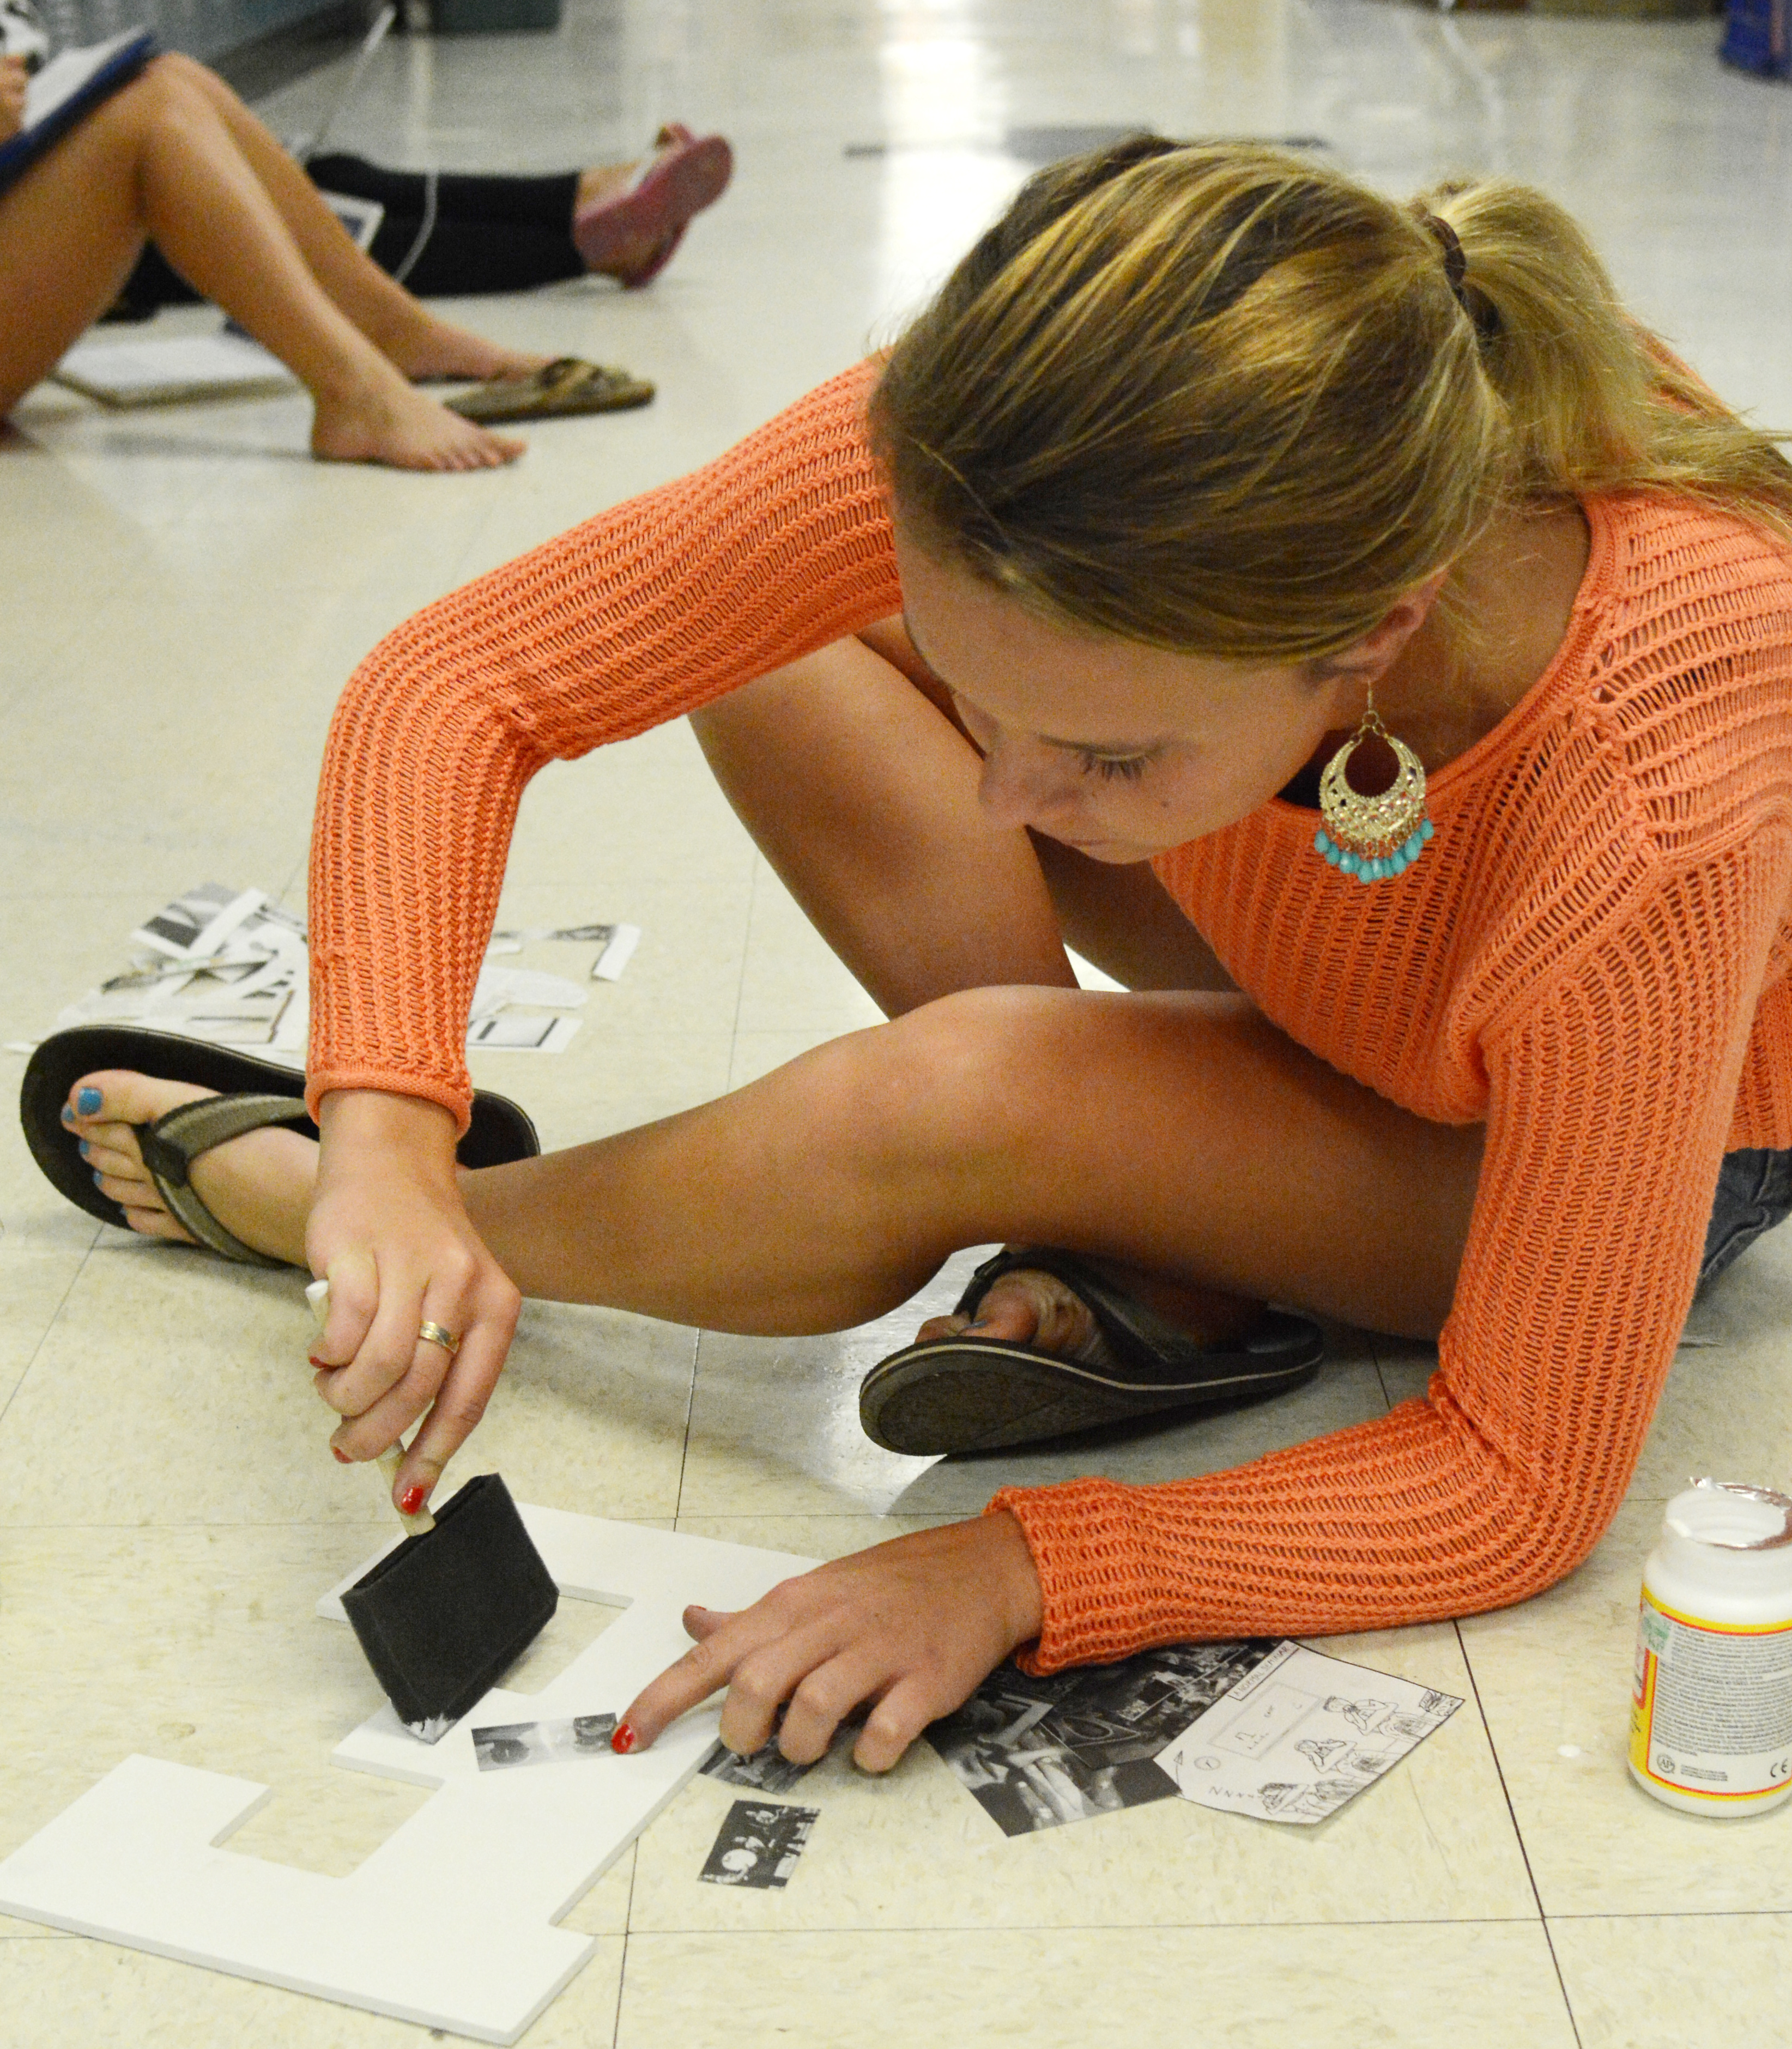
1. Have all of your materials ready to begin and have an idea in your head of how you want to arrange your pictures. (in our case newspaper clippings)
2. Before you place your picture on the letter, you have to brush on a nice coat of Mod Podge on the spot where you will put the picture.
3. After you have put the Mod Podge on, lay your picture down nice and flat with no air bubbles. (Those are a total pain and look bad in the final product
4. Repeat steps 2 & 3 until each letter is completely covered with the pleasing pictures you have chosen.
5. Hang them up in your room for the world to see!
![For the first time in 10 years, East will have an all-female Student Council Executive Board for the 2024-25 school year.
The board consists of future senior and president Ingrid Blacketer, future junior and vice president Paige Bean, future junior and secretary Claire Polanco and future junior and treasurer Fina Kessler.
“We see each other once a week every week,” Blacketer said. “We set up together, we volunteer together and we volunteered at the can drive together. So we’ve always been in the same room [and] we’ve known each other for over a year now.”
To read more, click the link in bio.
#storybyreesedunham #pagedesignbyclarabirdick #socialmediabymaggiekissick #photobymaggiecondon](https://smeharbinger.net/wp-content/plugins/instagram-feed/img/placeholder.png)
Leave a Reply