
Repurposed Spring Jars
One thing I love about crafting is that you can turn old, household items into new, unique treasures with just a pinch of glitter or a splash of paint.
 You can add and take pieces from something simple or spruce it up a little and it completely changes the role it plays in your home. There’s nothing
better than creating a useful, new trinkett out of something that has already served its purpose. It’s almost like recycling.
In honor of Earth Day, I’ve decided to bring you all a “Reduce, Reuse, Recycle” -esque craft. You don’t have to sacrifice our beautiful planet just for the sake of crafting. So why not concoct something glorious and reduce your carbon footprint at the same time?
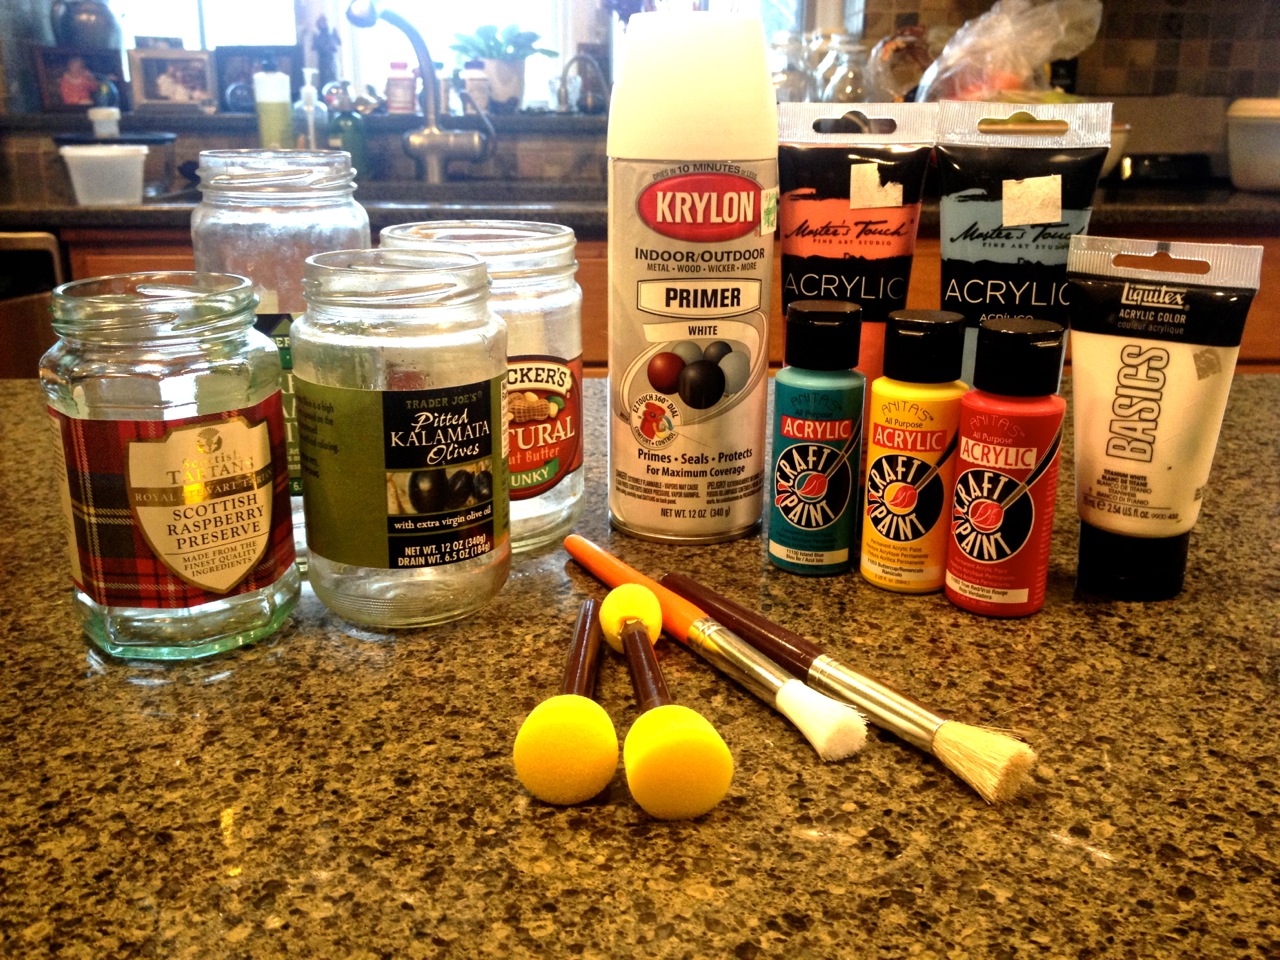
The great part of this project is that you already have the main material right at home: glass jars. Any old food jar from peanut butter to salsa will do. We are simply painting them to make something as dazzling to look at as it is useful. They’re great for gifts, storage or even just decoration as the provide a nice splash of color to any dull space. They’re practical, pretty, and perfect for the holiday!
Unfortunately I was left without the tops of all my jars, so I made use of another popular recycled item: newspaper. Just cut out a square that covers the top of your jar and secure it with a rubber band. Voila, You now have a makeshift top.
This craft is courtesy of Amy Locurto at livinglocurto.com, which I was helpfully directed to with the help of Pinterest.
Materials:
paint (spray or acrylic)
white paint primer
circular sponge stamps
Directions:
1. Start by removing the labels. This is probably the trickiest step in the bunch. I find that if you let the jars soak in hot water for 10-15 minutes that the labels slip right off. However sometimes you get a stubborn jar that you have to scrub and pick at incessantly. I also recommend Goo Gone for the sticky residue.
2. When the jars are label free and dry, spray them with a light coat of primer. Wait for them to dry and then coat them a second time.
3. When the primer has dried it’s time to bring on the color! Paint the jar in any color you like. I used bright spring colors and acrylic paint. A spray will generally leave a more glossy, glass-like finish, but they both look great.
4. Dip the sponge stamps in paint so that the bottom is covered in a thin, even layer of paint. Then mark polka dots all over the jar as spread out as you want and wait for it to dry.
5. Top the jar with its painted lid or newspaper with a rubber band.
That’s all there is to it!


Leave a Reply